
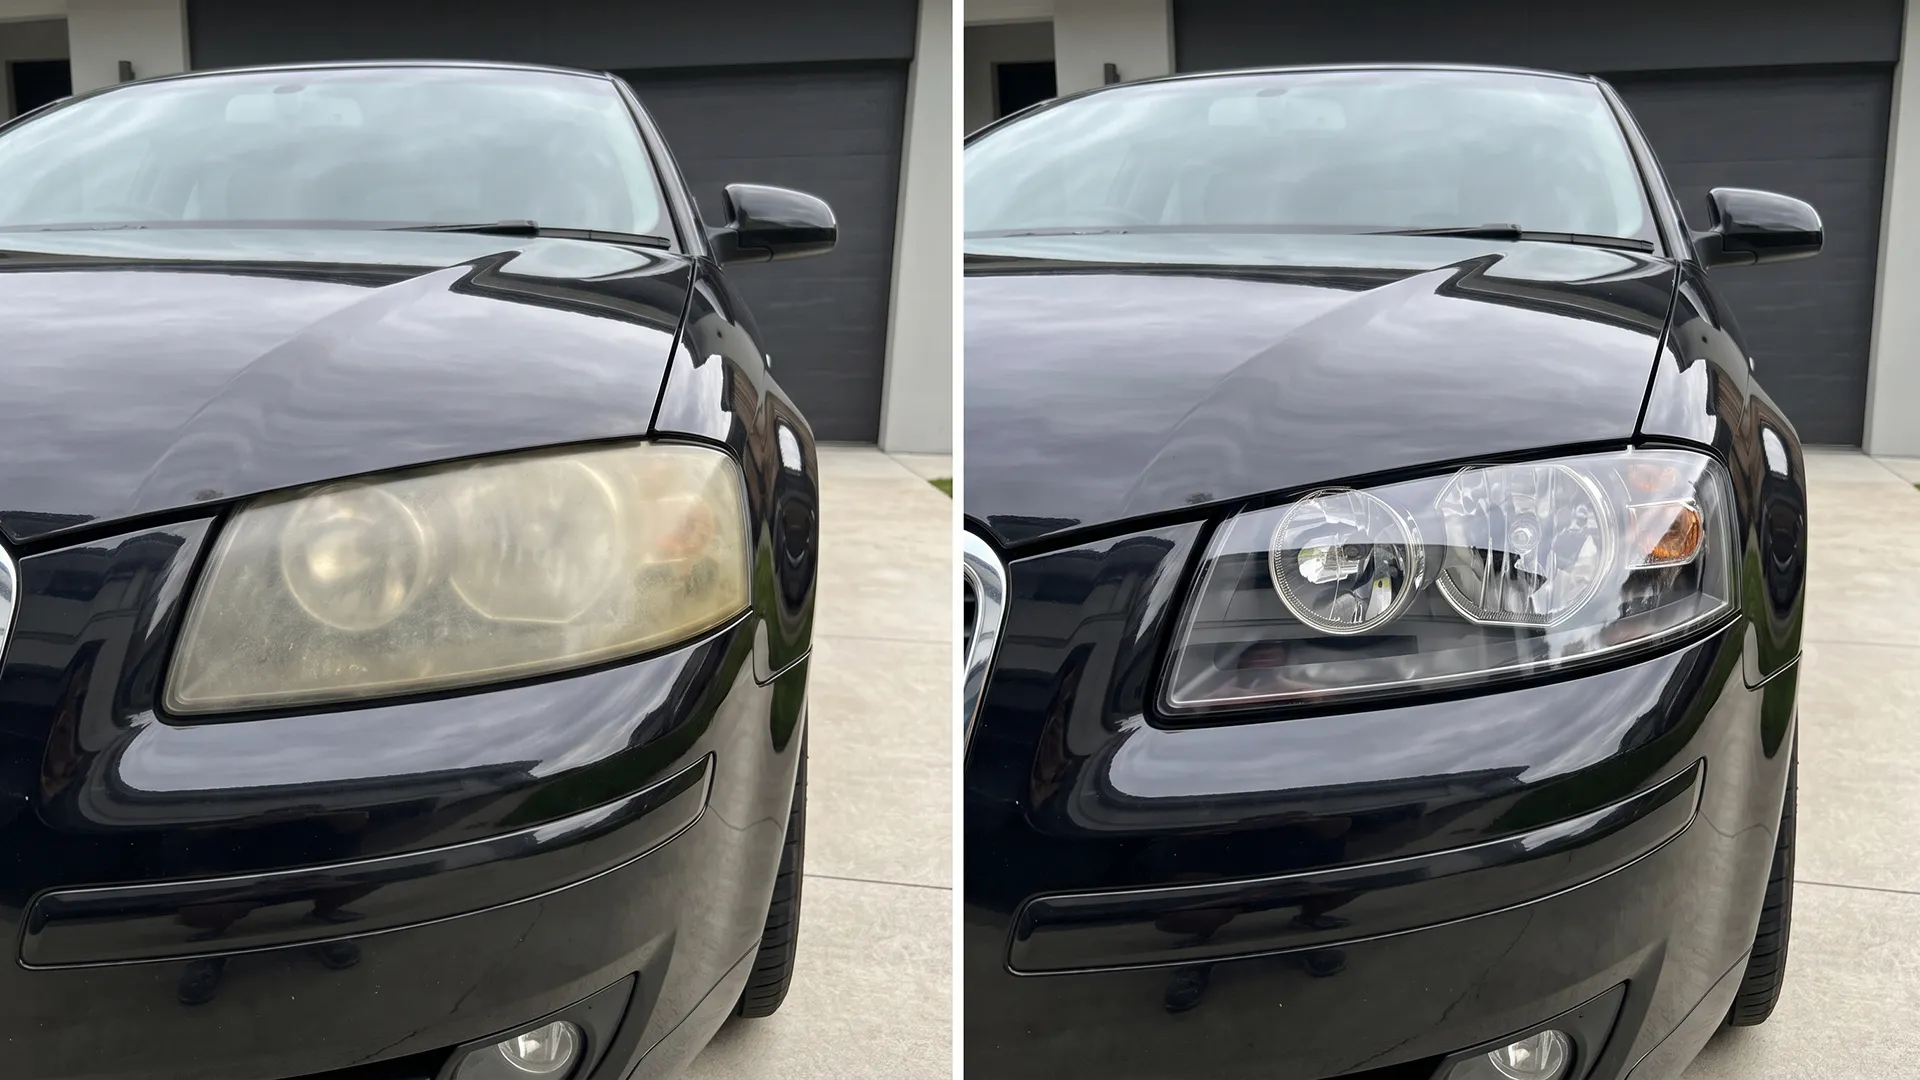

Cloudy headlights are the fastest way to make a good car look tired, and every servo in the country has a headlight restoration kit on the rack promising to fix it in twenty minutes. Some work. Most work for about four months, then the yellow creeps back and you are standing in the driveway wondering what you bought.
The difference between those two outcomes has almost nothing to do with how well the kit polishes, and everything to do with what it leaves behind on the lens afterwards. Here is what is worth your money in Australia, and what the marketing on the box is not telling you.
Why the Australian Sun Is Harder on Headlights Than the Marketing Admits
Your headlights are not glass. Since the mid-1990s almost every car sold here has used polycarbonate lenses, which are lighter, cheaper to shape and far less likely to shatter into your face in a crash. Polycarbonate has one serious weakness, and that is ultraviolet light.
To get around it, manufacturers spray the lens with a UV-cured polyurethane hard coat loaded with UV absorbers and hindered amine light stabilisers. That coating is the part doing the work. It is sacrificial by design, and under sustained UV it breaks down, which is when you start seeing the milky yellow film that will not wash off no matter how hard you scrub.
What actually makes headlights go cloudy?
It is oxidation of the factory coating, not dirt on the lens and not fogging inside the housing. Research cited by trade publication UV+EB Technology found badly degraded lenses putting out as little as 20 percent of the candela the same headlight produced when the car was new. That is a genuine safety problem on an unlit country road, not a cosmetic one.
Australia’s UV index sits higher than almost anywhere carmakers do their durability testing, and a car parked outside in Perth or Brisbane works through that coating faster than the same car in Frankfurt. If you park under cover you have already won most of this fight, and if you cannot, a decent cover buys you years.
The Toothpaste Trick, and Why It Keeps Coming Back
Someone will tell you to use toothpaste. They are not entirely wrong, which is why the myth survives. Toothpaste contains a mild abrasive, and rubbing it on an oxidised lens will knock the top off the haze and make the headlight look better for a fortnight.
The problem is what happens next. You have abraded away more of the damaged factory coating and left bare polycarbonate facing the sun with nothing on it. Consumer testing body CHOICE tested kits against these home remedies and found the DIY approaches produced short-lived gains precisely because they leave no protective layer behind.
Does toothpaste actually restore headlights?
It cleans them temporarily and it accelerates the underlying problem. Every proper restoration works the same way: remove the failed coating entirely, then put a new UV-resistant one back on. A kit without that second step is toothpaste in nicer packaging.
Headlight Restoration Kits
Turtle Wax Headlight Restorer Kit: The Cheap One That Earns Its Spot
At $49.99 recommended retail and frequently discounted to around $35 at Supercheap Auto, this is the volume seller, and 1,130 owner reviews averaging 4.3 stars is not nothing. It handles mild to moderate yellowing well and includes a sealant step, which puts it ahead of anything sold as a single bottle of cleaner.
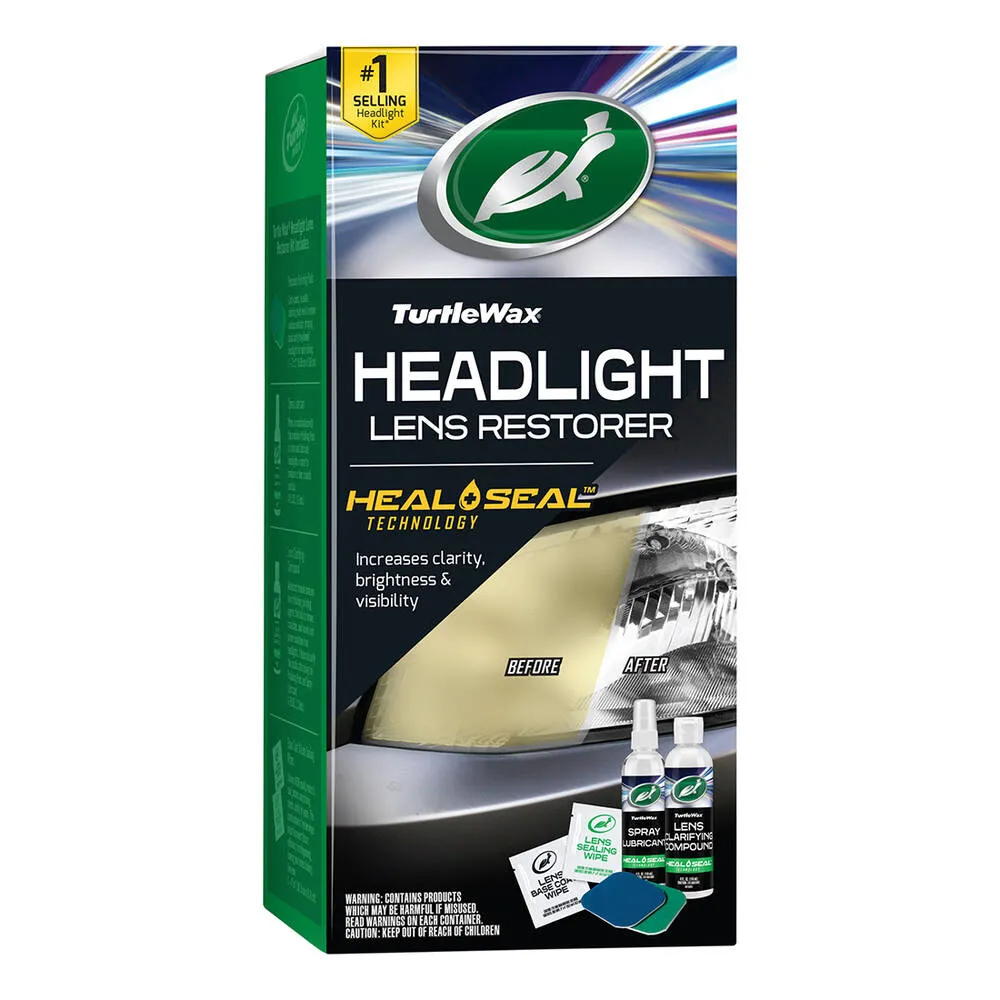
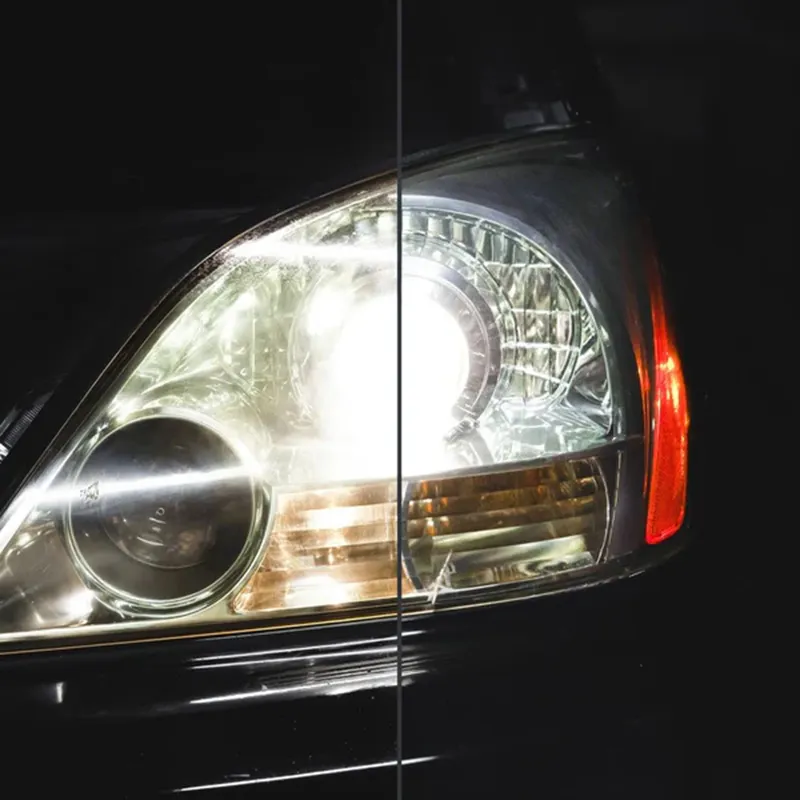
Where it struggles is heavy oxidation. If your lens has gone properly brown and you can no longer see the reflector behind it, this kit will improve things without fixing them. Turtle Wax also sells a 266mL Headlight Cleaner and Sealant at $24.99 that CHOICE tested and rated as a reasonable option for light hazing only.
Where to buy: Turtle Wax Headlight Restorer Kit at Supercheap Auto, or the cheaper Headlight Cleaner and Sealant for light hazing.
Meguiar’s Two Step Kit: The One CHOICE Actually Recommended
Buy the Meguiar’s Two Step Headlight Restoration Kit if your headlights are badly gone. Listed at $99.99 and often selling closer to $75, it is expensive for a car care product, and CHOICE still recommended it over the cheaper option for severely oxidised lenses after finding it removed virtually all the haze and yellowness.
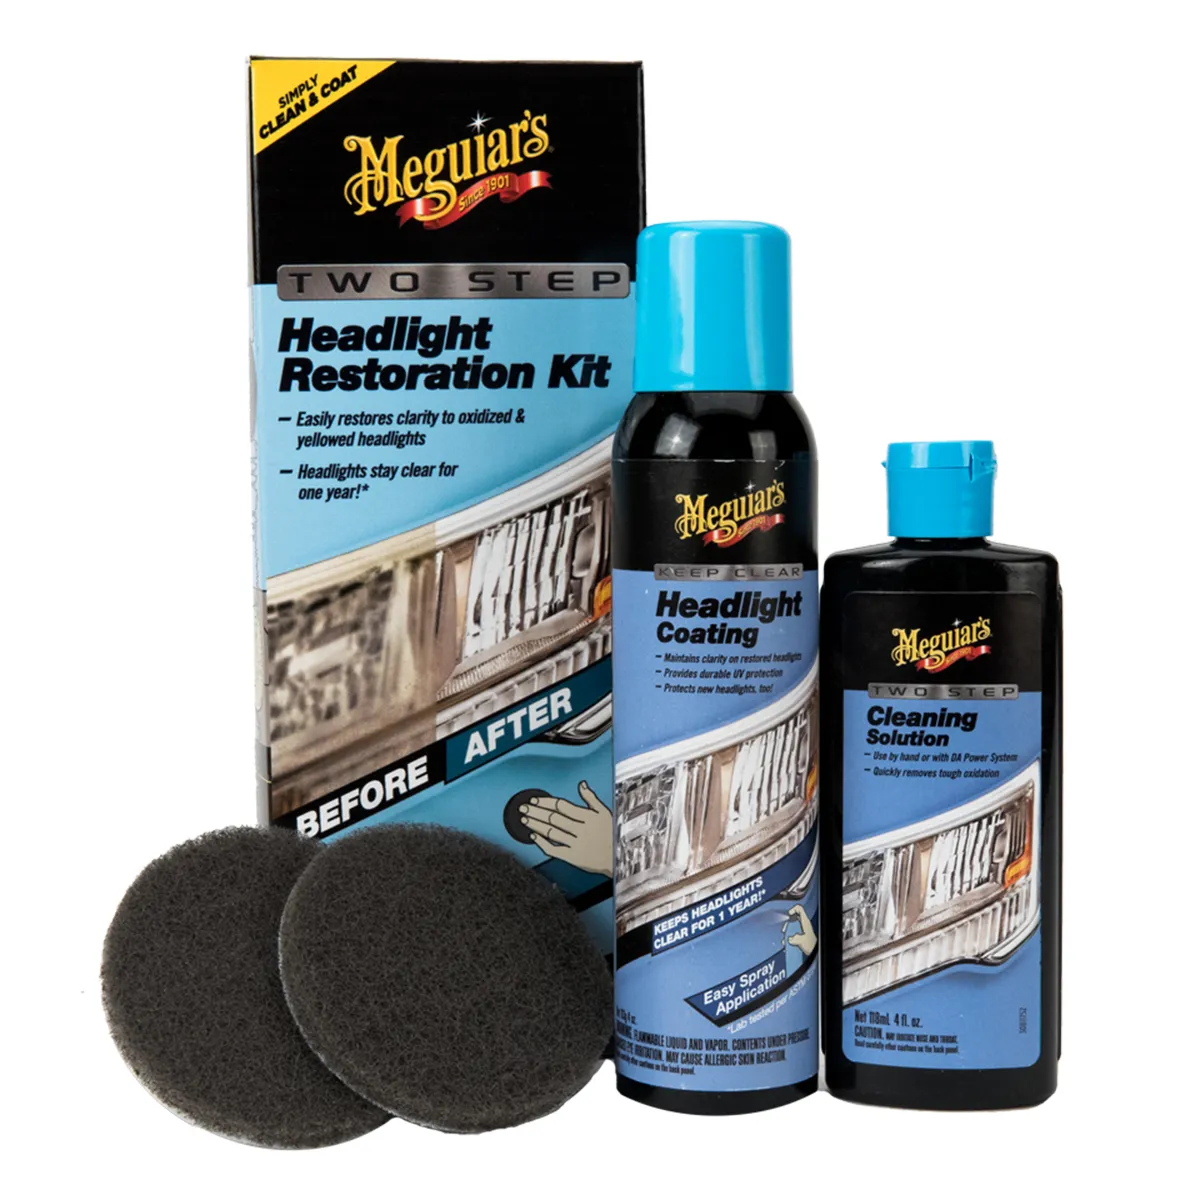
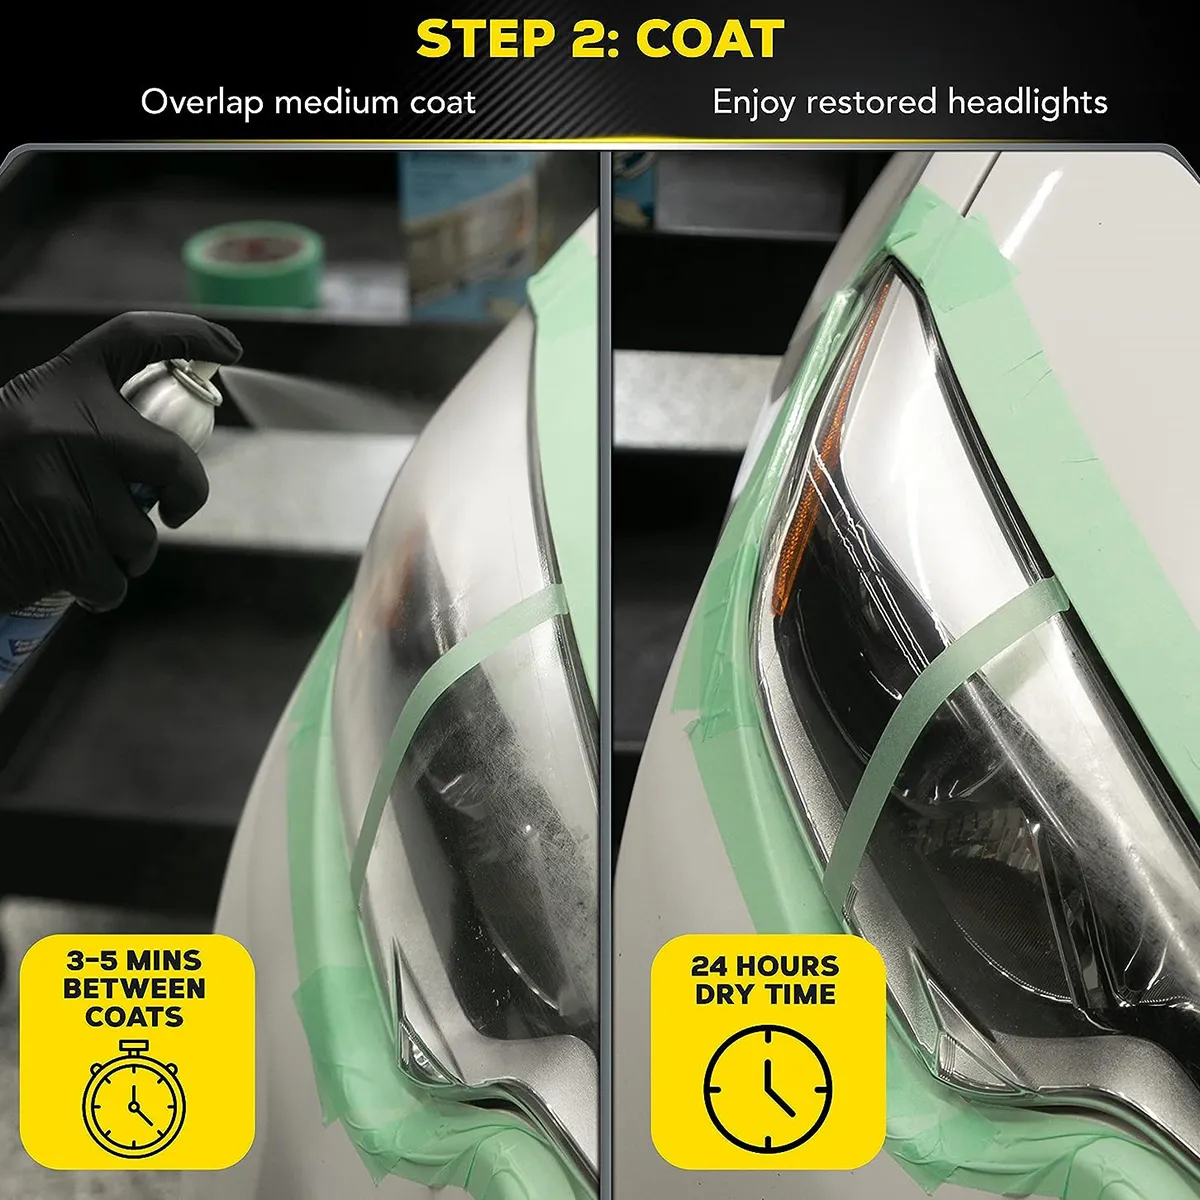
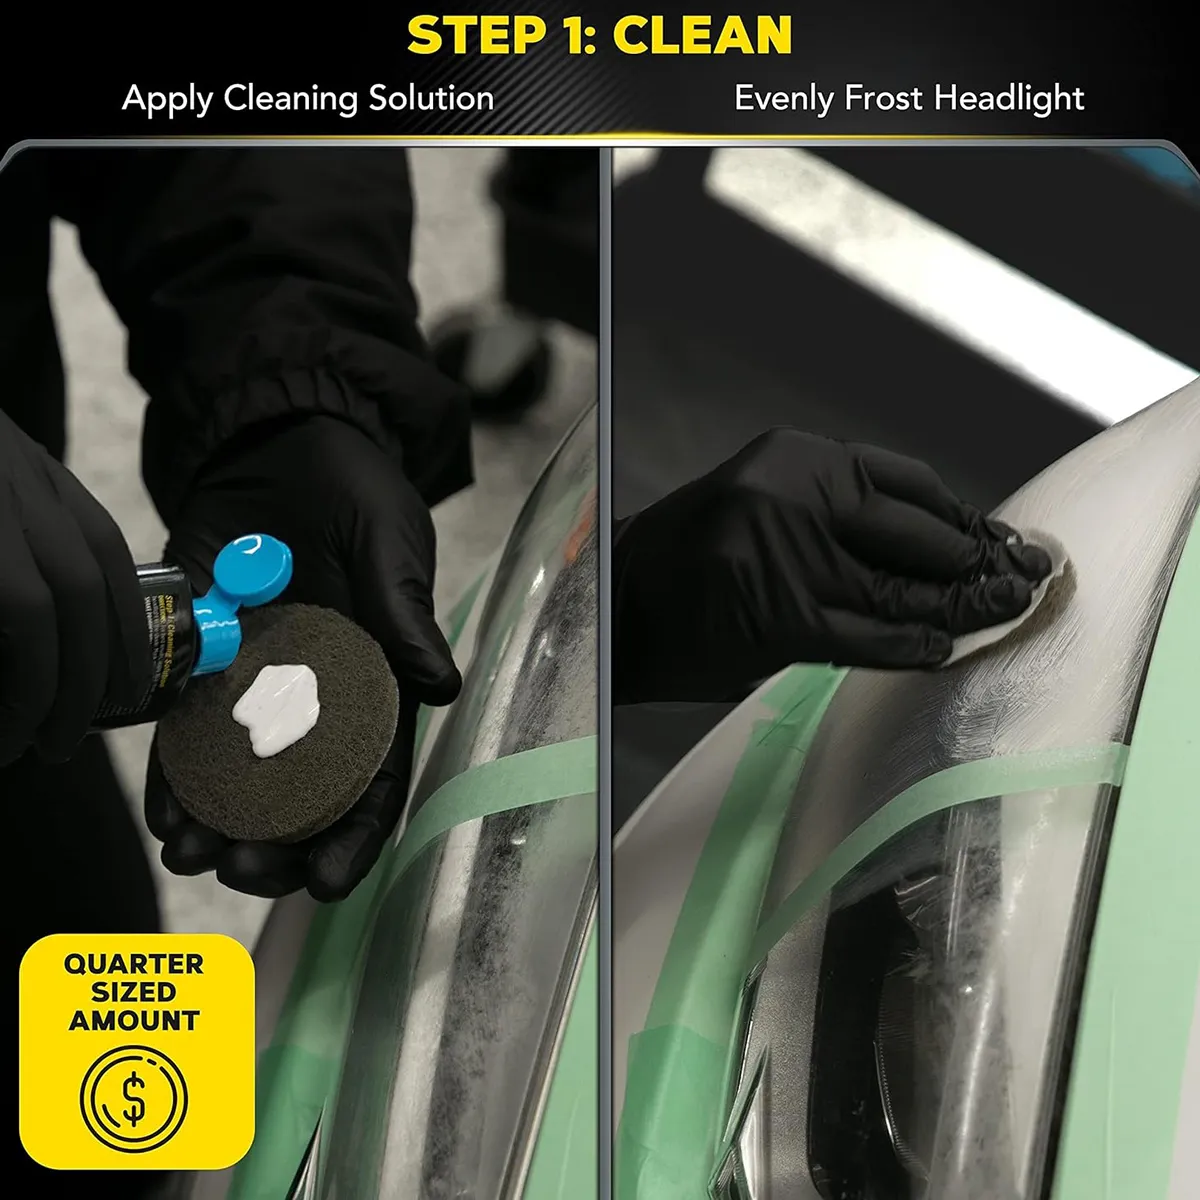
Meguiar’s cites laboratory testing supporting 12 months of protection against re-oxidisation from the coating step. Treat that as a manufacturer claim measured under laboratory conditions rather than a promise about a black ute parked on a Townsville driveway, but the two-step structure is the right structure and the coating is doing real work.
Where to buy: Meguiar’s Two Step Headlight Restoration Kit at Supercheap Auto
3M Ultra Heavy-Duty 39195: For Lenses That Are Truly Cooked
Around $57 through Australian stockists, the 3M Ultra kit is the one that expects you to own a drill. You wet-sand through progressive grits, then compound the lens back to clarity, which is the same sequence a professional refinisher follows.
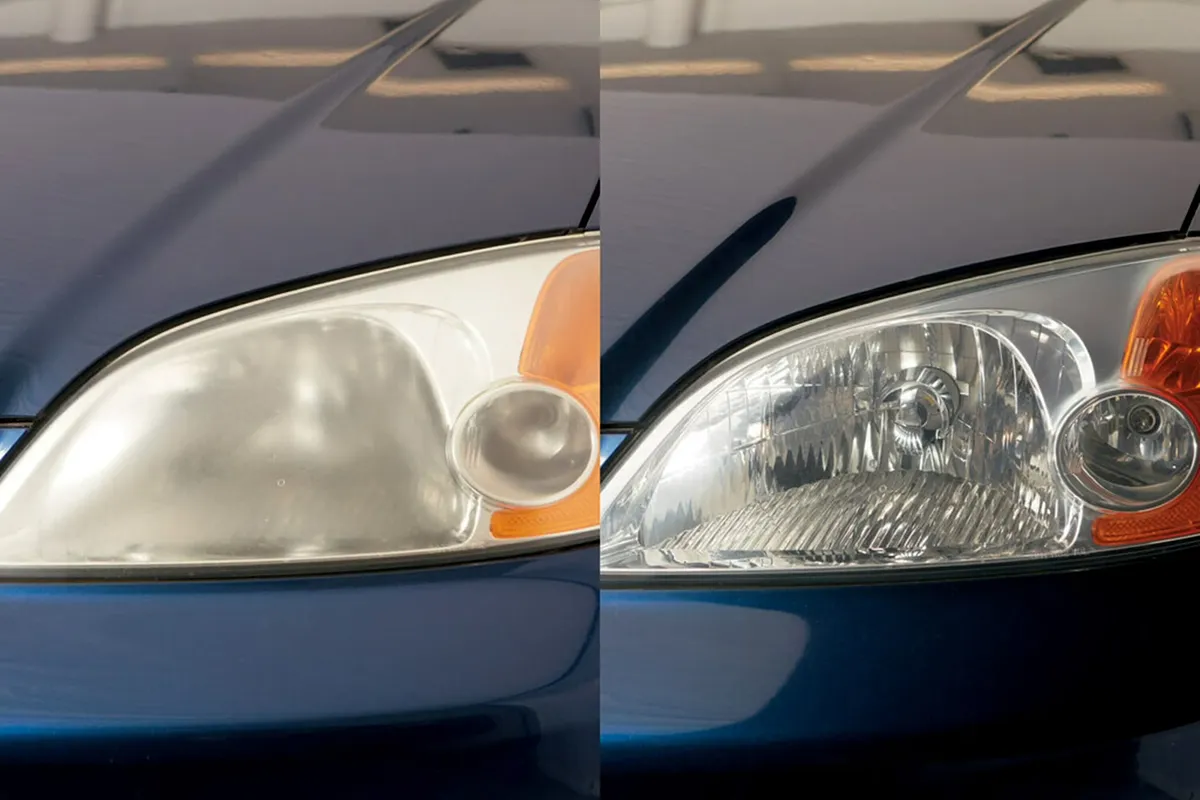
It produces the best correction at this price and carries the biggest risk. Sand too aggressively or skip a grit and you will leave marks you cannot polish out. The kit includes a wax protectant rather than a true UV hard coat, so plan on adding your own sealant afterwards.
Where to buy: 3M Ultra Headlight Restoration Kit Heavy-Duty 39195
Cerakote Ceramic: The Wipe-On With the Loudest Claims
At roughly $58, the Cerakote kit runs oxidation-removing wipes, then sanding discs in two grits, then two ceramic coating wipes, with no power tools needed. The pitch is that the ceramic layer chemically bonds to the lens instead of sitting on it as a temporary sealant.
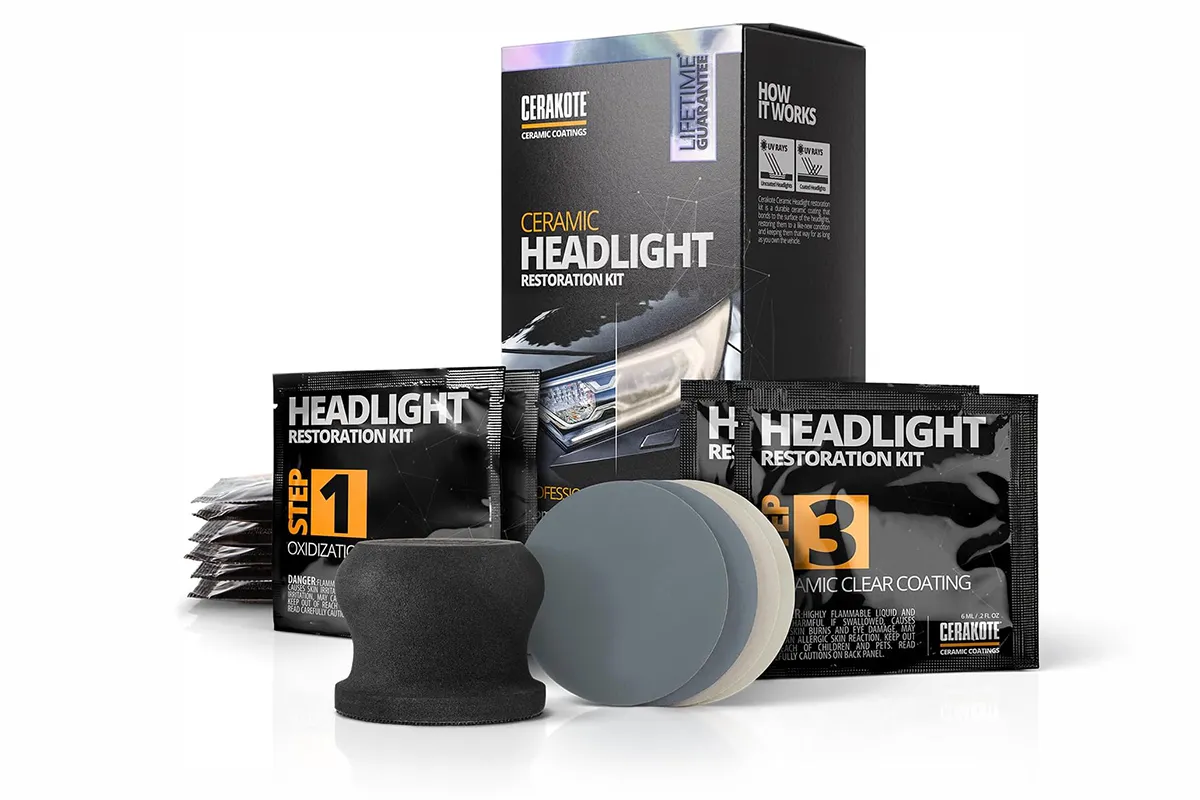
The application method is the real advantage, because wipes are far more forgiving than a drill for a first-timer. Be careful with the durability marketing. Cerakote’s overseas material has run lifetime-of-vehicle language that Australian retailer listings do not repeat, and no defined warranty period appears locally. If you have used ceramic products on paint you already know the drill on expectations.
Where to buy: Cerakote Ceramic Headlight Restoration Kit on Amazon AU
The Roadworthy Angle Nobody Puts on the Box
This is the part that turns a cosmetic job into an urgent one, and it depends heavily on which state you are in.
Queensland is the strict one. The Light Vehicle Inspection Manual lists as a reason for rejection any lighting component affected by dirty or discoloured lenses, and separately any lighting component that is faded or discoloured. It also notes that lens repairs are acceptable but must not reduce the effectiveness of the lamp when lit, which means a botched sanding job can fail you just as fast as the original hazing.
New South Wales is narrower. The Light Vehicle Safety Check Standards rejects a headlight where the reflector is tarnished or peeling to the extent that performance is impaired, or where the lens is incomplete, but discolouration on its own is not listed as a standalone rejection item.
Will cloudy headlights fail a roadworthy in Australia?
In Queensland, discoloured lenses are explicitly listed as grounds for rejection. In New South Wales the wording is tighter and focuses on impaired performance. Either way, an inspector assessing whether your lights are of consistent intensity has room to make a call, so sort it before the inspection rather than after.
Making the Job Last Past One Summer
The biggest predictor of how long a restoration holds is whether you put a real UV-resistant layer back on and maintain it. Reapply the sealant or coating every six to twelve months, because you are replacing a factory coating that took years to fail with a consumer coating that will not last as long.
Do the job in the shade on a cool panel, tape off the surrounding paint properly, and do not let the lens dry out during wet sanding. Older cheap cars are the ones that need this most, and they are also the ones where a $35 kit meaningfully lifts what the car looks like on a forecourt.
Which Headlight Restoration Kit Deserves Your Money
For most people with moderately hazed lenses, the Turtle Wax kit at around $35 is the sensible buy, and the volume of positive owner feedback backs that up.
If your headlights are badly oxidised and you want the best chance of one attempt fixing it, spend the money on the Meguiar’s Two Step kit. It is the only one in this group an independent testing body has recommended for heavy oxidation, and the coating step is the reason.
Buy the 3M Ultra kit only if you are comfortable wet-sanding and already own the drill. Buy Cerakote if you want ceramic durability without power tools and you go in with realistic expectations about the marketing.
Both picks are at Supercheap Auto: the Turtle Wax kit for moderate hazing, and the Meguiar’s Two Step kit if yours are badly gone.


